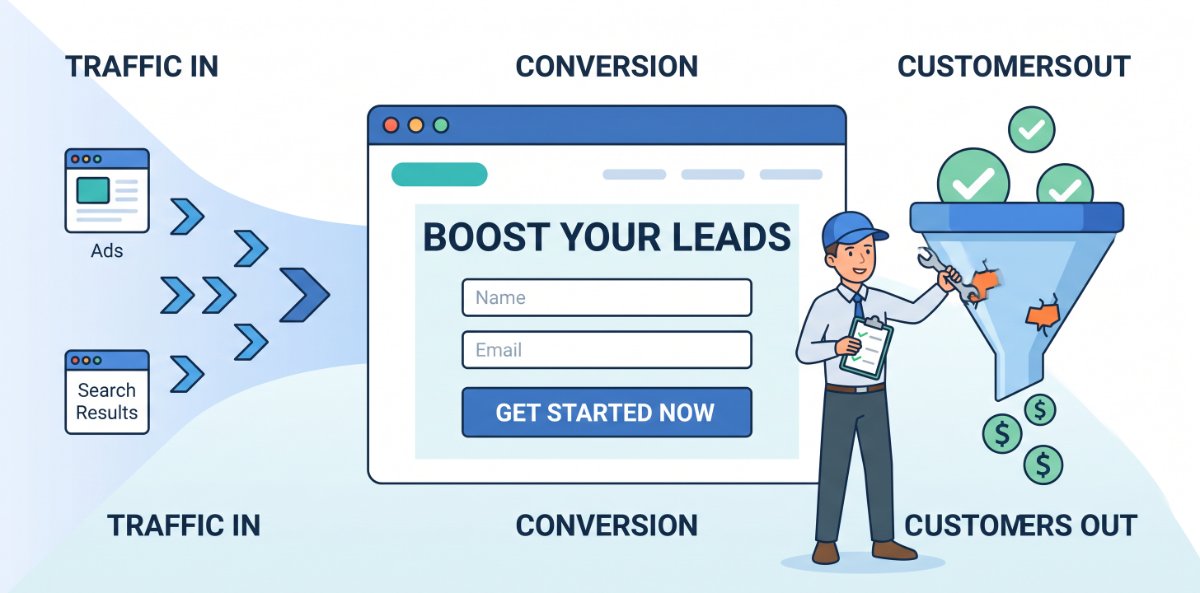
Most landing pages do not fail because of traffic. They fail because they quietly leak attention, trust, and motivation between the click and the call‑to‑action. The good news is that most of those leaks are fixable with clear structure, sharper messaging, and a few focused tests, not a full redesign.
This post walks through where landing pages usually lose people and what to change so more visitors turn into leads or customers.
Step 1: Make the promise on the page match the promise in the click
The first leak often happens before someone even reads the page. They click an ad or link expecting one thing and land on a page that feels slightly different. Even small mismatches create friction.
Check three things:
- Message match: The main headline should echo the wording and benefit from the ad or link that brought them there. If the ad promises “Free SEO Audit in 48 Hours,” the page should say something very close to that, not “Improve Your Online Presence Today.”
- Visual match: Use the same brand colours, imagery style, and key elements from the ad (for example, a product shot or icon) so visitors know they are in the right place.
- Offer match: If you teased a specific offer (discount, consultation, download), it must be front and centre above the fold, not buried halfway down the page.
When the click and the page feel like two halves of the same experience, fewer people bail out in the first few seconds.
Step 2: Clarify the “one thing” you want them to do
Many landing pages leak conversions by giving visitors too many choices: navigation menus, multiple CTAs, secondary offers, and links off to other parts of the site. Every extra option is another exit.
Decide on a single primary action for the page, such as:
- Fill in a lead form
- Start a trial
- Book a call
- Download a guide
Then design the page around that one action:
- Remove or minimise top navigation so people are not tempted to wander away.
- Make the primary call‑to‑action button visually dominant and repeat it naturally down the page.
- If you must include secondary links (e.g. privacy, FAQs), keep them subtle and out of the main visual path.
A landing page is not a brochure; it is a focused conversation leading to one clear next step.
Step 3: Shorten the mental distance between problem and solution
Visitors arrive because they have a problem, even if it is only curiosity. The job of the landing page is to connect that problem to your solution as fast and clearly as possible.
A simple structure that works:
- Headline: State the primary outcome, not just what you sell.
- “Get more local leads from Google in 90 days” beats “Local SEO Services.”
- Subheadline: Explain how you deliver that outcome in one short line.
- “We optimise your site, content, and local listings so nearby customers find and choose you.”
- Hero support: Add a few bullets that highlight the most important benefits or features from the visitor’s perspective.
- Primary CTA: Place your main button or form where it is impossible to miss.
The goal is that someone scanning the top of the page for three seconds knows what you offer, who it is for, and what to do next.
Step 4: Remove unnecessary friction from your forms
Forms are where a lot of landing pages quietly die. The intent is there, but the form feels like work, or raises risk and trust concerns.
To tighten this leak:
- Ask only for what you truly need at this stage. If name and email are enough to start, do not ask for full address, budget, or detailed company data yet.
- Use clear, human labels and microcopy that explain why you are asking for each piece of information. For example, under the phone field: “We only call if there is a problem with your booking.”
- Break longer forms into steps or sections, with a progress indicator. People are more likely to complete a form when they know how close they are to the end.
- Make sure forms work perfectly on mobile: large tap targets, no tiny dropdowns, no awkward zooming.
If people are abandoning at the form, reducing friction here alone can dramatically lift conversions without touching the rest of the page.
Step 5: Use social proof where doubts peak
Another common leak comes from unspoken doubts:
- “Will this work for someone like me?”
- “Is this company trustworthy?”
- “What happens after I click submit?”
Social proof works best when it is placed where those doubts are strongest, not just as a block of random logos at the bottom.
Effective placements include:
- Near the first CTA: a short testimonial or star rating to reassure hesitant visitors.
- Next to pricing or commitment details: logos of recognisable clients, or a micro‑case study showing a tangible result.
- Close to the form: a line like “Trusted by 1,200+ business owners” or a quote about the ease of the process.
Use specific, concrete proof where possible: numbers, outcomes, and named customers beat vague praise.
Step 6: Make the page feel safe and low‑risk
Many visitors hesitate because they fear hassle, spam, or making a bad decision. Reducing perceived risk can close that gap.
Practical ways to lower the barrier:
- Clarify what happens after the conversion: “After you submit, you’ll receive X within Y hours, and we will never share your details.”
- Offer guarantees where appropriate: money‑back windows, simple cancellation, or “no credit card required” for trials.
- Show trust symbols that are actually relevant: security badges at the payment step, professional associations, or compliance logos if they matter in your industry.
The more predictable and safe the next step feels, the more likely people are to take it.
Step 7: Fix the obvious UX killers
Sometimes the leaks are not strategic at all; they are purely usability issues that make people give up.
Check for:
- Slow load times, especially on mobile. Even a few seconds of delay can tank conversions.
- Layouts that look good on desktop but break on smaller screens.
- Text that is too small, low‑contrast, or dense to read comfortably.
- Pop‑ups that obscure the main content or form at the worst possible time.
Walk through the page yourself on different devices, or watch a few real users navigate using simple testing tools or screen recordings. Fixing the basics is often the fastest win.
Step 8: Treat optimisation as ongoing, not one‑and‑done
Landing pages improve most when you iterate deliberately instead of making random changes. A simple process:
- Identify the biggest suspected leak (bounce at top, drop‑off near form, low click‑through on CTA).
- Choose one change to address that leak: new headline, shorter form, different CTA text, reordered sections.
- Run an A/B test if you have enough traffic; if not, make the change and monitor the trend over a few weeks.
- Keep a log of what you tried, why, and what happened.
Over time, this gives you a playbook of what works for your audience instead of generic advice.
A quick landing‑page leak checklist
You can use this as a fast review before sending traffic to any landing page:
- The headline and visuals clearly match the ad or link that brings visitors in.
- There is one primary goal, and the page is built around that action.
- The top section explains who it is for, what outcome they get, and how.
- The form asks only for essential information and works smoothly on mobile.
- Social proof is specific and placed near key decision points.
- The page communicates what happens next and reduces perceived risk.
- Load speed, readability, and mobile layout have all been tested.
- There is a simple plan for what to test next if results are weak.
Handled this way, a landing page stops being just a pretty destination and becomes a tuned conversion engine. The aim is straightforward: for every 100 clicks you pay for or earn, more leave as leads or customers, and fewer disappear through avoidable leaks.